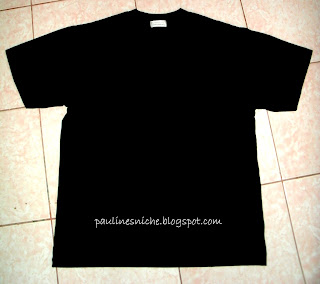
Cut Out Shoulder are very trendy in the fashion scene. It shows that every woman could be fashionable in the clothes they wear and not by over accessorizing. Thus, I wanted to show you how I made my own Cut Out Shoulder. Here it is...
Materials:
Tshirt
Scissors
Needle
Thread
2. Lay it flat and make a curve mark starting from the shoulders to the sleeve. Then cut it.
3. Fold the shirt lengthwise and trace the cutted right sleeve to the left sleeve and cut.
Just like what I did with my DIY: RACERBACK WORKOUT SHIRT
5. Fold a few centimeters of the sleeve (from the shoulder to the arm) inwards and sew. Do the same with the other side.
6. Fold also a few inches of the sleeve (at the arm portion) inwards, depends on how big is your arm and sew.
7. Tada! your done :)
Now, you can enjoy your own Cut Out Shoulder and can brag to your friends.
Always remember...Be Positive & Be Creative! :)


No comments:
Post a Comment